A clear, mechanic-approved guide to checking tire tread with a penny, wear bars, and a depth gauge, plus the real-world signs you should replace tires sooner.
A flat tire is one of those problems that feels like an emergency even when it is not. The good news: with the right tools and a safe order of operations, you can often be back on the road fairly quickly. Sometimes it takes longer because of stuck lug nuts, missing wheel lock keys, soft shoulders, or vehicles that do not carry a spare. The goal is not just speed. It is getting you out of harm’s way without damaging the car, the wheel studs, or yourself.
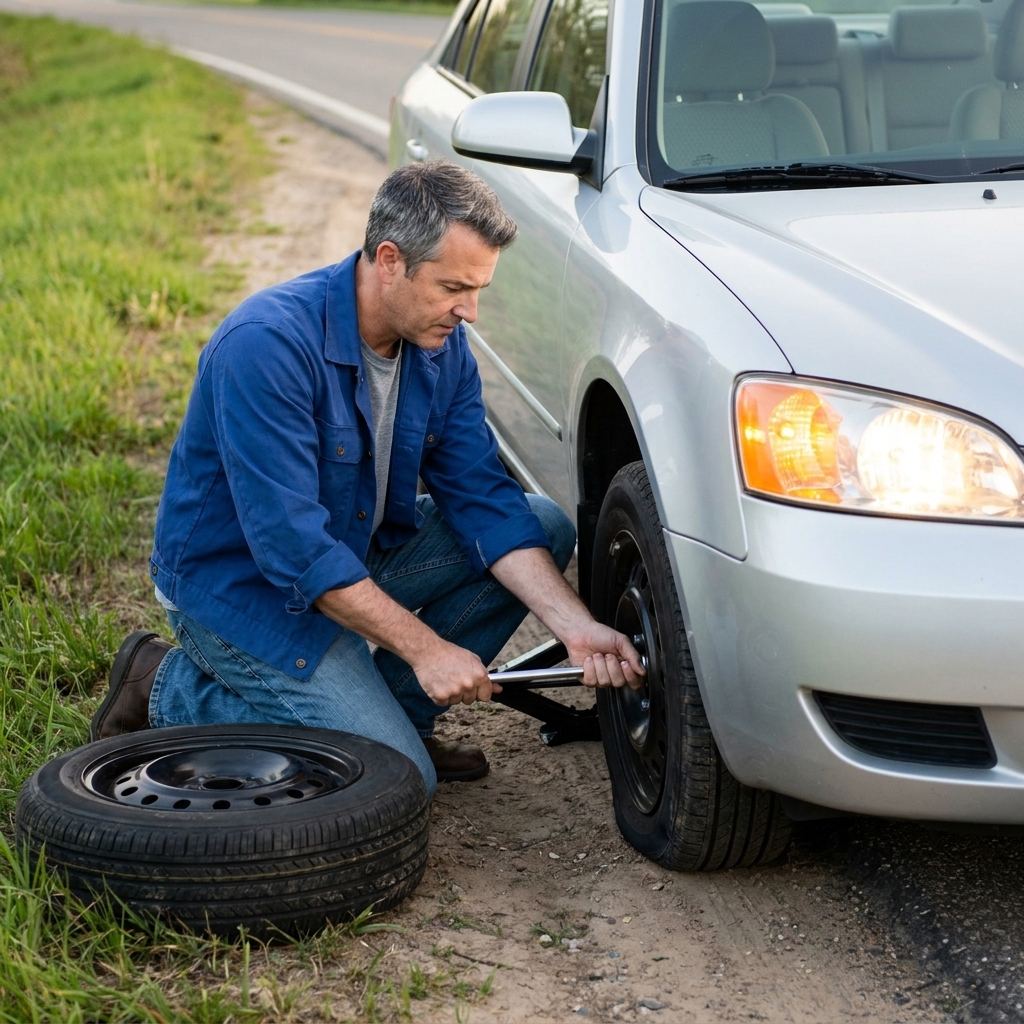
Here is the same process I taught new techs in the shop, simplified for real-world roadside conditions.
Before you start: 60-second safety check
Where you stop matters more than how strong you are with a lug wrench.
- Get to the safest spot you can. A flat tire can sometimes limp slowly to a safer place. Prioritize a parking lot, wide shoulder, or flat turnout over stopping immediately in a narrow lane.
- Flat, firm ground only. Avoid soft dirt, tall grass, sloped shoulders, bridges, and curves with low visibility. A jack can sink or tip.
- Hazards on, then set the car up. Turn on hazard lights. If you have reflective triangles or flares, place them far enough back that approaching drivers have time to see and react. On faster roads, that usually means farther than you think, and placing one closer and one farther back is often smarter than relying on a single distance.
- Parking brake on. Always. Put an automatic in Park. Put a manual in 1st gear or Reverse.
- Exit on the safe side. If you are on the shoulder, get passengers out on the side away from traffic and stand well off the roadway.
If you cannot get to a safe location, or you are on a narrow shoulder with fast traffic, call roadside assistance. There is no shame in choosing the safer option.
What you need (and what I recommend adding)
Most cars include the basics. The problem is that “included” does not always mean “ready.” Check this stuff in your driveway before you need it at night in the rain.
Basic tire-change kit
- Spare tire (temporary donut or full-size spare)
- Jack (scissor jack is common)
- Lug wrench (or a tire iron)
- Wheel lock key if your car has locking lug nuts
- Owner’s manual for jack points and special instructions
Smart add-ons that make the job faster and safer
- Gloves and a small kneeling pad or folded towel
- Flashlight or headlamp with fresh batteries
- Small block of wood (a 2x6 works) to stabilize the jack on imperfect pavement
- Wheel chock (two is better than one)
- Tire pressure gauge
- Portable air compressor (especially important with donut spares that tend to be underinflated)
- Torque wrench (best practice for correct lug nut tightness)
- Thin socket set (helpful if your lug nuts have decorative caps that swell and the factory wrench will not fit)
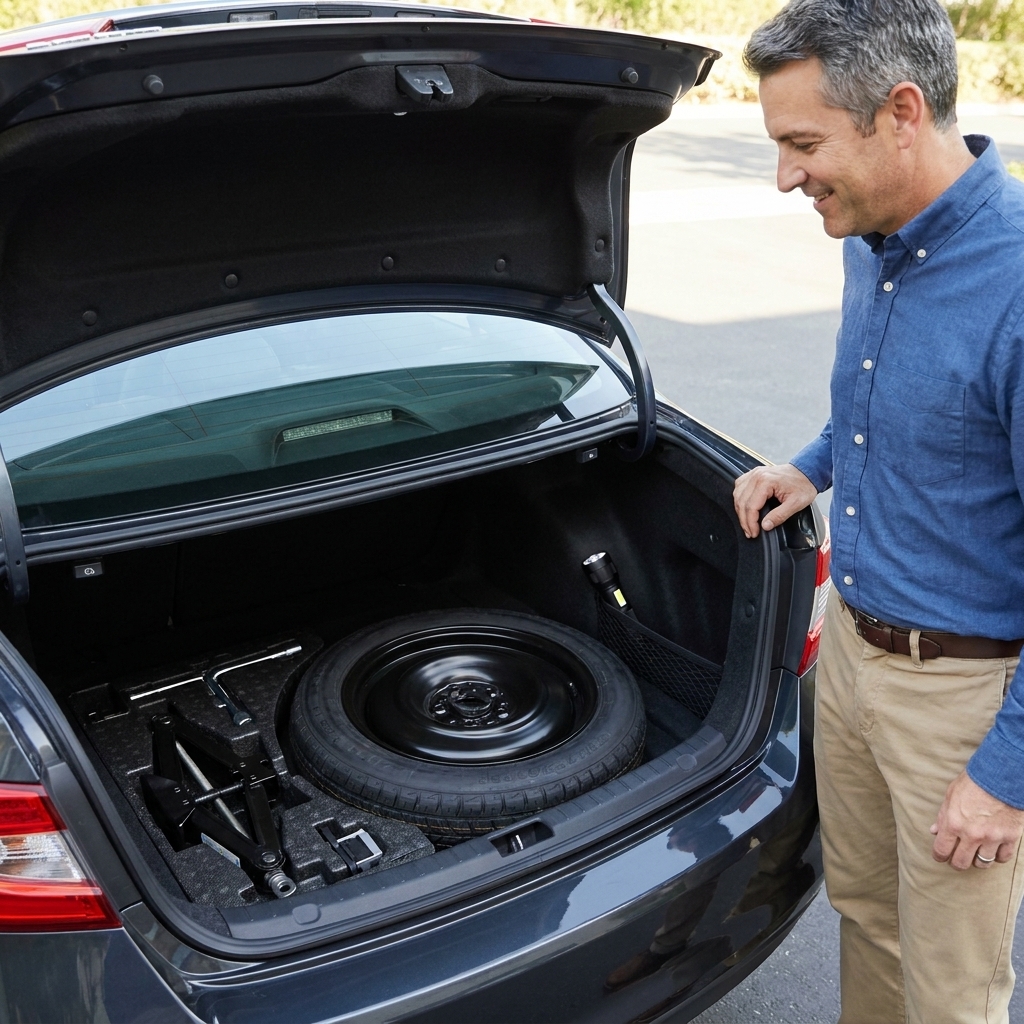
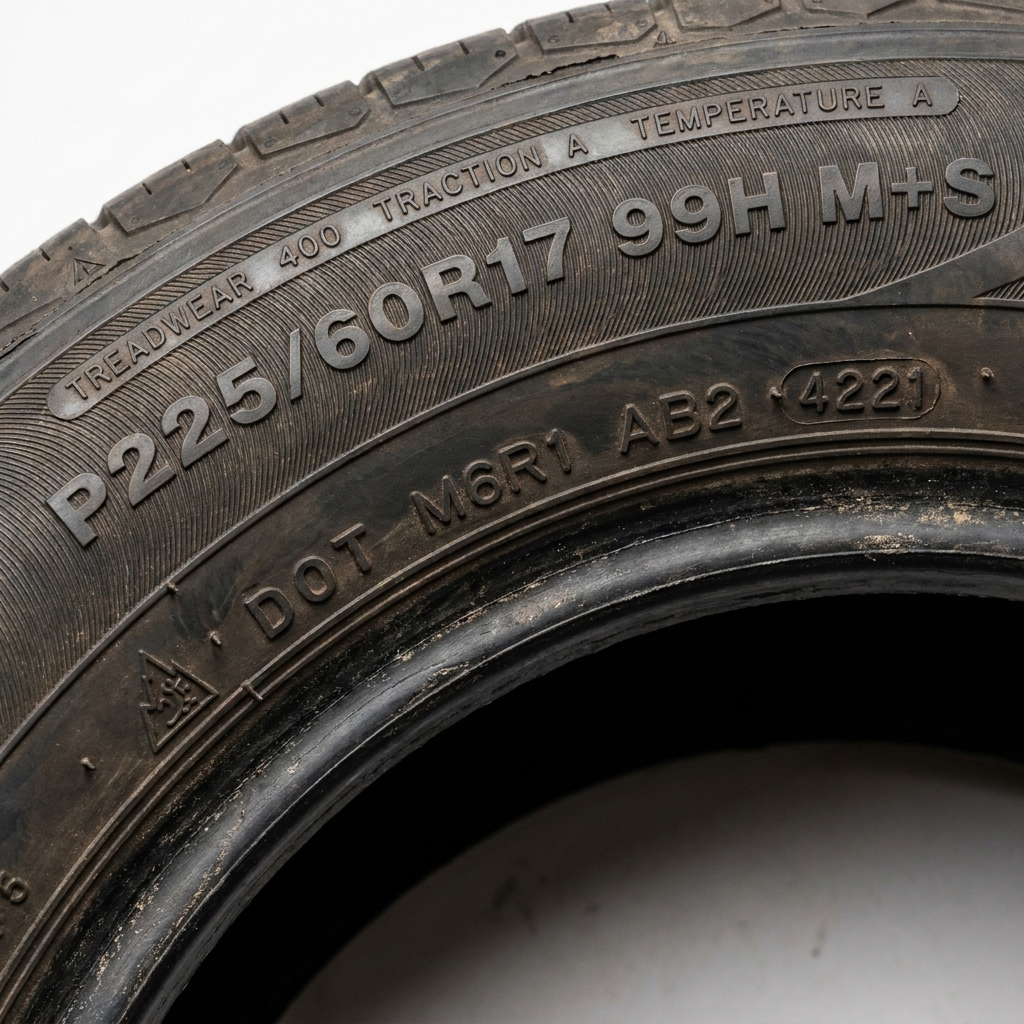
Important: Some vehicles do not have a spare at all. They may have an inflator sealant kit, run-flat tires, or both. Before you start tearing the trunk apart on the shoulder, confirm what your vehicle actually has. If you have run-flats, you may be able to drive a limited distance at a limited speed, but you still need to follow the sidewall markings and your owner’s manual.
Also: If your spare is low, it is still better than a shredded tire, but driving on an underinflated spare can ruin it quickly. If you have a compressor, top it up before you pull onto the road.
Step-by-step: change a flat tire
1) Secure the car and chock a wheel
With the parking brake on, place a wheel chock on the tire diagonally opposite the flat. Example: if the front-left tire is flat, chock the rear-right tire. This reduces the chance of the vehicle rolling when it comes off the ground.
- If you have two chocks, chock the wheel on both sides.
- If you only have one chock and there is any slight grade, put it on the downhill side of the chocked wheel.
2) Remove the hubcap (if equipped)
Some hubcaps pop off with a gentle pry from the lug wrench end. Others have plastic lug covers. If the hubcap is held by the lug nuts themselves, you will remove it once the lug nuts come off.
3) Break the lug nuts loose (before lifting the car)
This is where most people go wrong. You want the tire on the ground while you crack the lug nuts loose so the wheel does not spin.
- Turn the lug wrench counterclockwise (lefty-loosey).
- Loosen each lug nut about a quarter to a half turn.
- If a lug nut is stubborn, use your body weight carefully: position the wrench so you can press down with your foot while keeping your balance.
If you have a wheel lock: use the lock key on the locking lug. Keep that key in the glove box, not buried under cargo at the worst possible time.
4) Find the correct jack point
Your owner’s manual will show the exact reinforced pinch weld or frame point designed for the jack. Do not guess. Jacking in the wrong spot can crush a rocker panel or damage battery components on some hybrids and EVs.
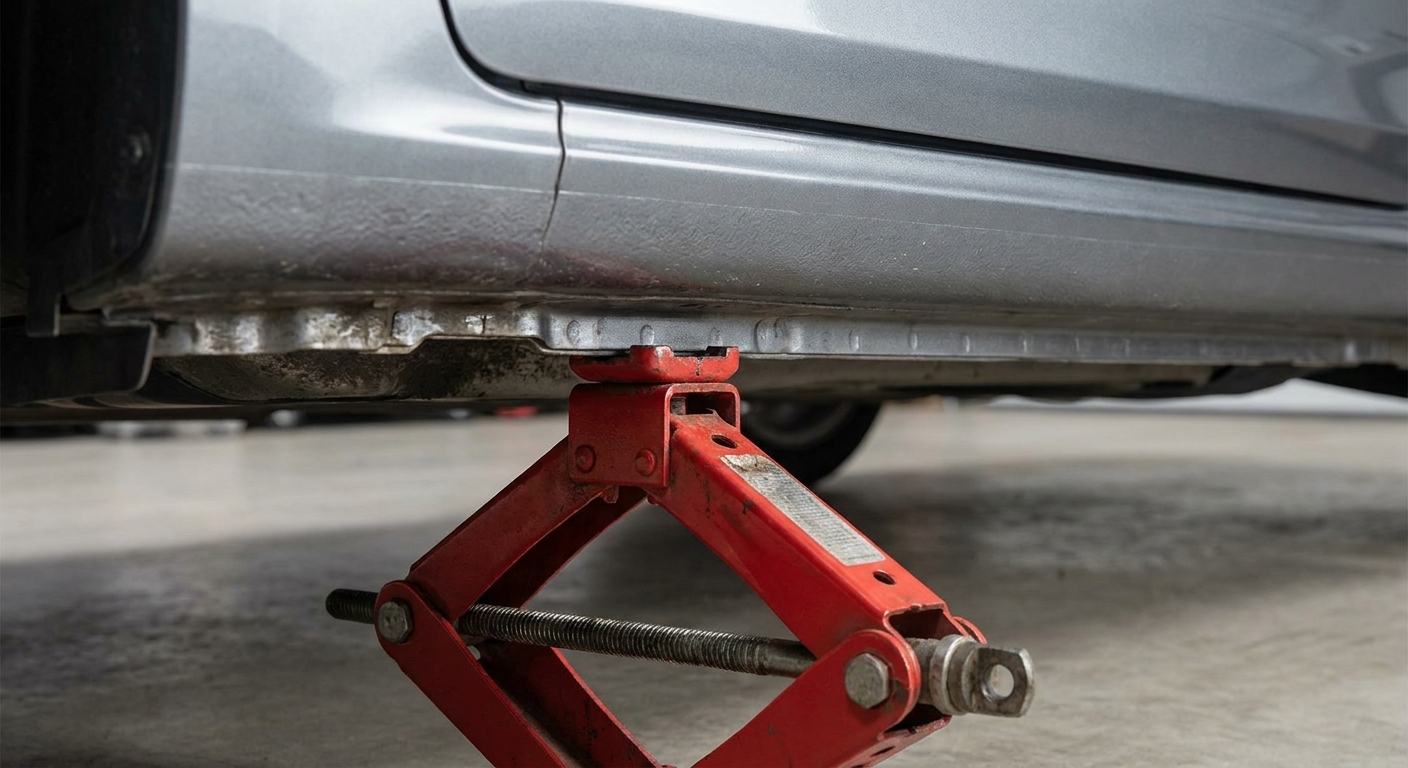
5) Raise the vehicle
Position the jack squarely under the correct jack point. If the ground is rough, place a small block of wood under the jack base to help it sit flat. Then raise the car until the flat tire is just off the ground, typically 1 to 2 inches.
- Keep hands and feet out from under the vehicle.
- Do not crawl under a car supported only by a roadside jack. This jack is for lifting, not for safely supporting you underneath.
6) Remove the lug nuts and take the wheel off
Now finish removing the lug nuts. Put them somewhere they will not roll away, like a hubcap turned upside down, a pocket, or a small container.
Pull the wheel straight toward you. If it is stuck from corrosion, sit down and kick the tire sidewall with the sole of your shoe at the 3 o’clock and 9 o’clock positions to break it free. Avoid kicking the rim lip.
Where to put the removed wheel: If you have space, lay it flat away from traffic so it will not roll. Some techs slide it under the vehicle as an extra precaution, but do not reach under the car on a roadside jack to do it. Safety first.
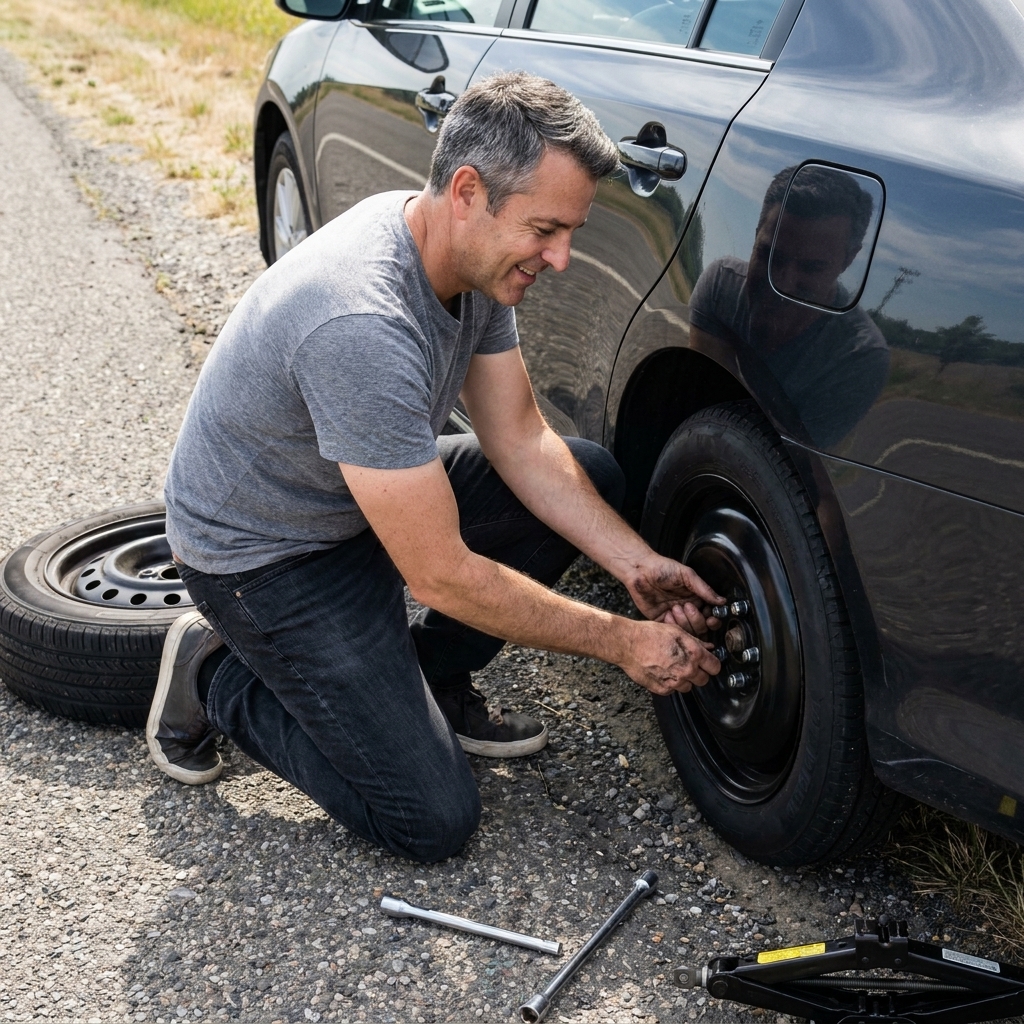
7) Mount the spare
Line up the wheel with the studs and slide it on. Thread the lug nuts by hand first to avoid cross-threading. If a lug nut does not spin on easily by hand, back it off and try again. Forcing it can damage the stud, and that can turn a quick tire change into a tow.
8) Tighten lug nuts in a star pattern
Snug the lug nuts with the wrench using a star pattern, not one-by-one around the circle. This seats the wheel evenly.
- 5-lug: go across the circle each time (a star).
- 4-lug: tighten in an X pattern.
- 6-lug: tighten in a crisscross pattern.
9) Lower to the ground and tighten for real
Lower the vehicle until the tire touches the ground and cannot spin. Then tighten the lug nuts again in the same star pattern.
After that, lower the car the rest of the way and remove the jack.
Best practice: use a torque wrench to tighten lug nuts to your vehicle’s specified torque (found in the owner’s manual). Overtightening can stretch studs. Undertightening can let the wheel work loose.
10) Check spare pressure and clean up
Before you merge back into traffic:
- Check spare tire pressure if you have a gauge.
- Stow the flat tire, jack, and tools securely so they do not become dangerous loose objects in a sudden stop.
- Do a quick visual scan: nothing left on the shoulder, nothing dangling under the car.
How to drive on a spare
Not all spares are created equal.
Temporary donut spare
- Keep speeds conservative. Many donuts are limited to around 50 to 55 mph, but follow the speed limit printed on the spare tire itself.
- Keep distance short. Donuts are meant to get you to a tire shop, not handle a weekend road trip.
- Handling and braking will feel different. Especially in rain. Give yourself extra following distance.
- Avoid towing and aggressive driving. Donuts have less traction and heat capacity.
Full-size spare
- You can usually drive more normally, but still treat it as a “get it fixed soon” situation.
- Make sure the tire size matches what belongs on the car and the pressure is correct.
AWD note: All-wheel drive vehicles can be sensitive to differences in rolling circumference between tires. Before mounting and especially before driving any real distance, check your owner’s manual for what your vehicle allows (some require a specific temporary spare, limited distance, or very close tread depth matching). When in doubt, keep the trip short and head straight to a tire shop.
Common mistakes to avoid
- Jacking on a slope or soft shoulder where the jack can slip or sink.
- Loosening lug nuts after the tire is in the air, which can rock the car off the jack.
- Putting any part of your body under the car while it is only supported by the jack.
- Cross-threading lug nuts by starting them with a wrench instead of by hand.
- Ignoring a wheel lock until you are stranded, then discovering the key is missing.
- Driving too far on a donut and overheating it.
- Fighting the wrong-size wrench because swollen lug nut caps keep the tool from seating properly.
After you are moving again
Changing the tire is step one. The goal is to get the original tire repaired or replaced correctly.
- Retorque the lug nuts. If you do not have a torque wrench, have a shop torque them properly as soon as possible. Even with a torque wrench, I like a quick recheck after 25 to 50 miles.
- Inspect the flat tire. If it is a simple puncture in the tread area, it may be repairable. Sidewall damage usually means replacement.
- Do not forget the spare. If you used a donut, reinflate it to the specified pressure and put it back in the trunk so it is ready next time.
Quick FAQ
Where are the jack points on my car?
Check the owner’s manual. Most vehicles have reinforced points just behind the front wheels and just ahead of the rear wheels, but the exact location matters.
My lug nuts will not budge. What now?
Double-check you are turning counterclockwise. If they are still stuck, use controlled body weight on the wrench. If you are on an unsafe shoulder, call for help rather than fighting it next to traffic. Some lug nuts are overtightened by impact guns and can be extremely stubborn.
Can I use the scissor jack on gravel?
It is risky. If you have to, use a flat, sturdy base like a thick wood board under the jack, and make sure the ground is as level as possible. If the car shifts, stop and reassess.
Do I need to replace all my tires if I get one flat?
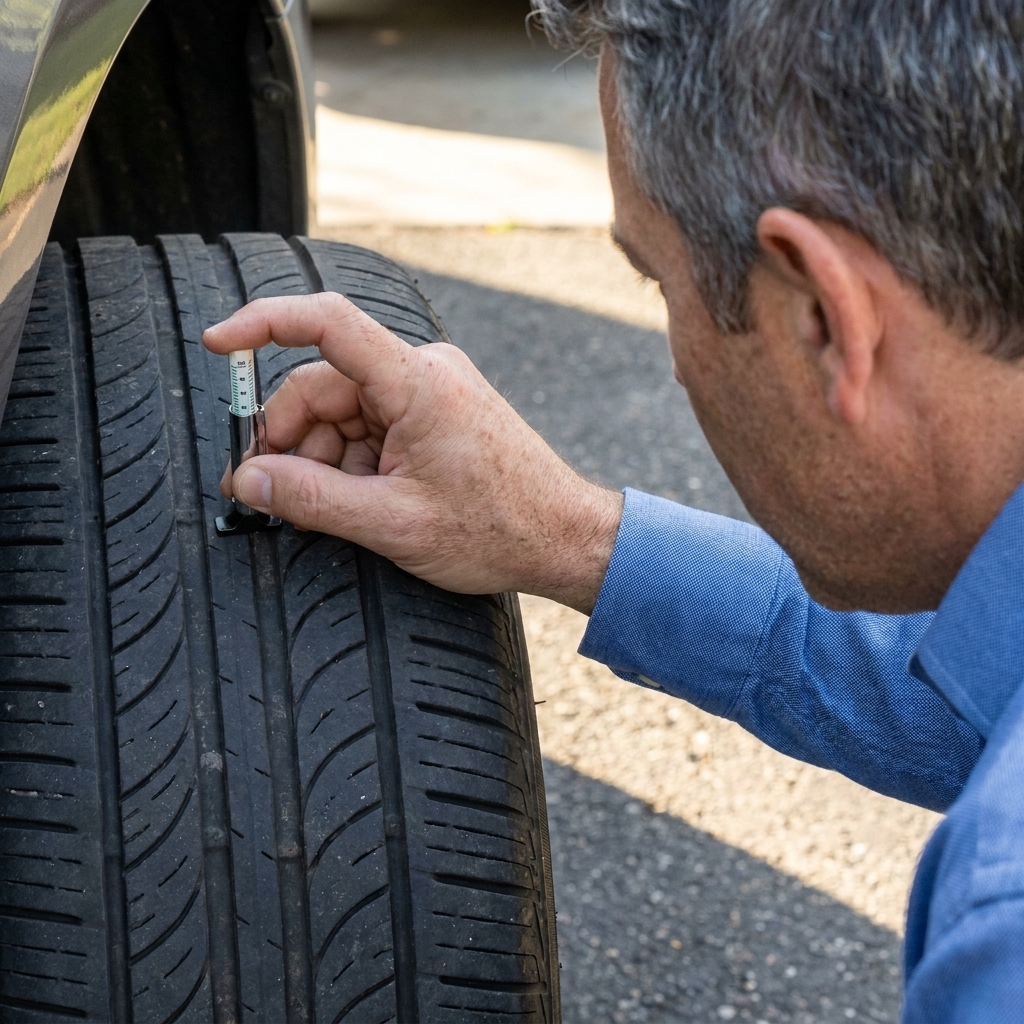
Usually no. If the tire is repairable, a proper patch-plug from the inside is often the best fix. If it is not repairable, you may be able to replace just one tire depending on tread depth and whether your vehicle is AWD. For AWD, big tread differences can matter, so ask the tire shop to measure tread depth and advise you.
Final reminder
I have changed tires in shop bays with perfect lighting and on the shoulder with semi trucks blasting past. The procedure is the same, but the risk is not. If conditions feel sketchy, trust that instinct and call for assistance. Getting home a little later is always better than not getting home at all.