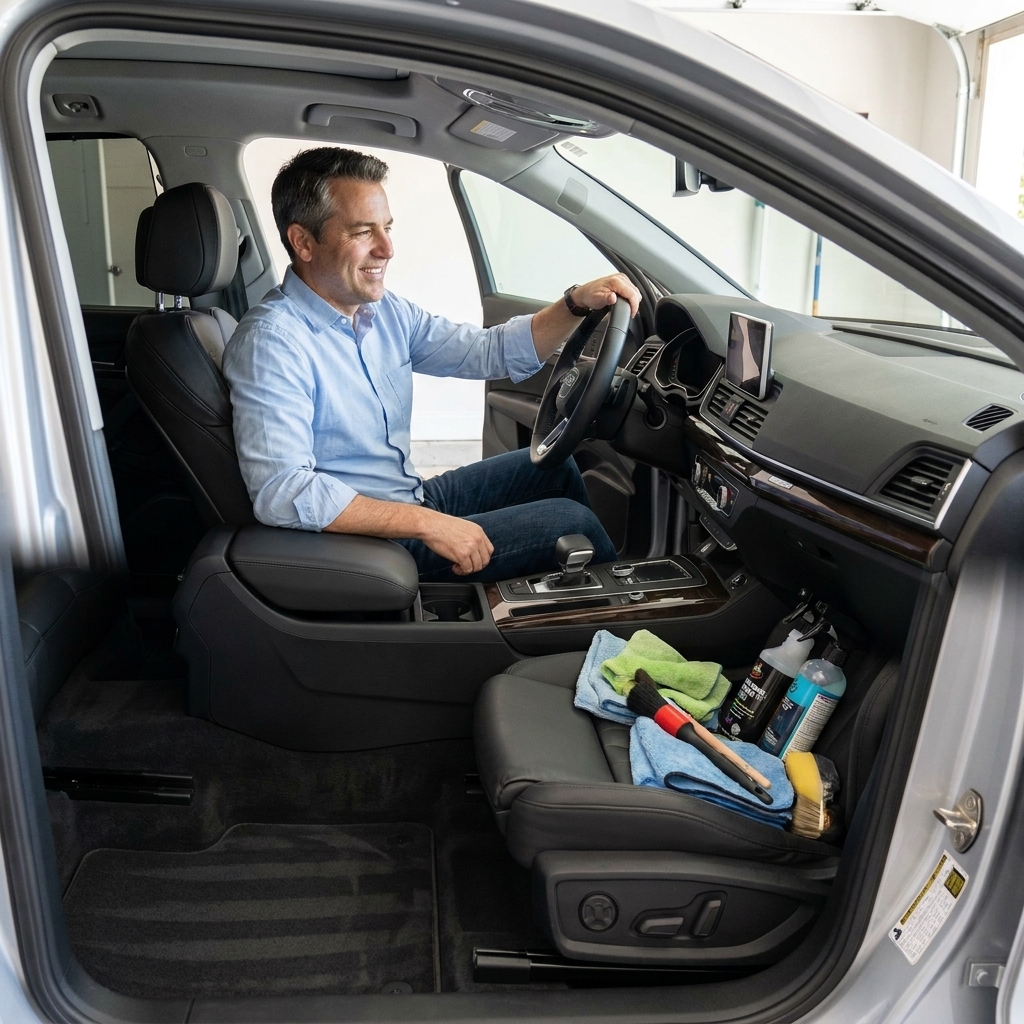

A mechanic-writer’s step-by-step checklist to raise your trade-in offer: quick fixes, deep cleaning, paperwork, pricing, timing, and negotiation tactics.
A clean interior is not just about pride of ownership. It can improve airflow and reduce dust in the cabin, especially if you pair it with a fresh cabin air filter. It also keeps smells from settling in and makes your daily drive feel calmer. The good news is you do not need a pro detail bay or a shelf full of specialty chemicals to get your cabin back to “new car adjacent.” You need a smart order of operations and a few tools that do not fight you.
I am going to walk you through the same basic routine I used in the shop when someone wanted “make it feel new again,” without charging them for hours of labor. Take your time the first round. After that, maintenance is easy.
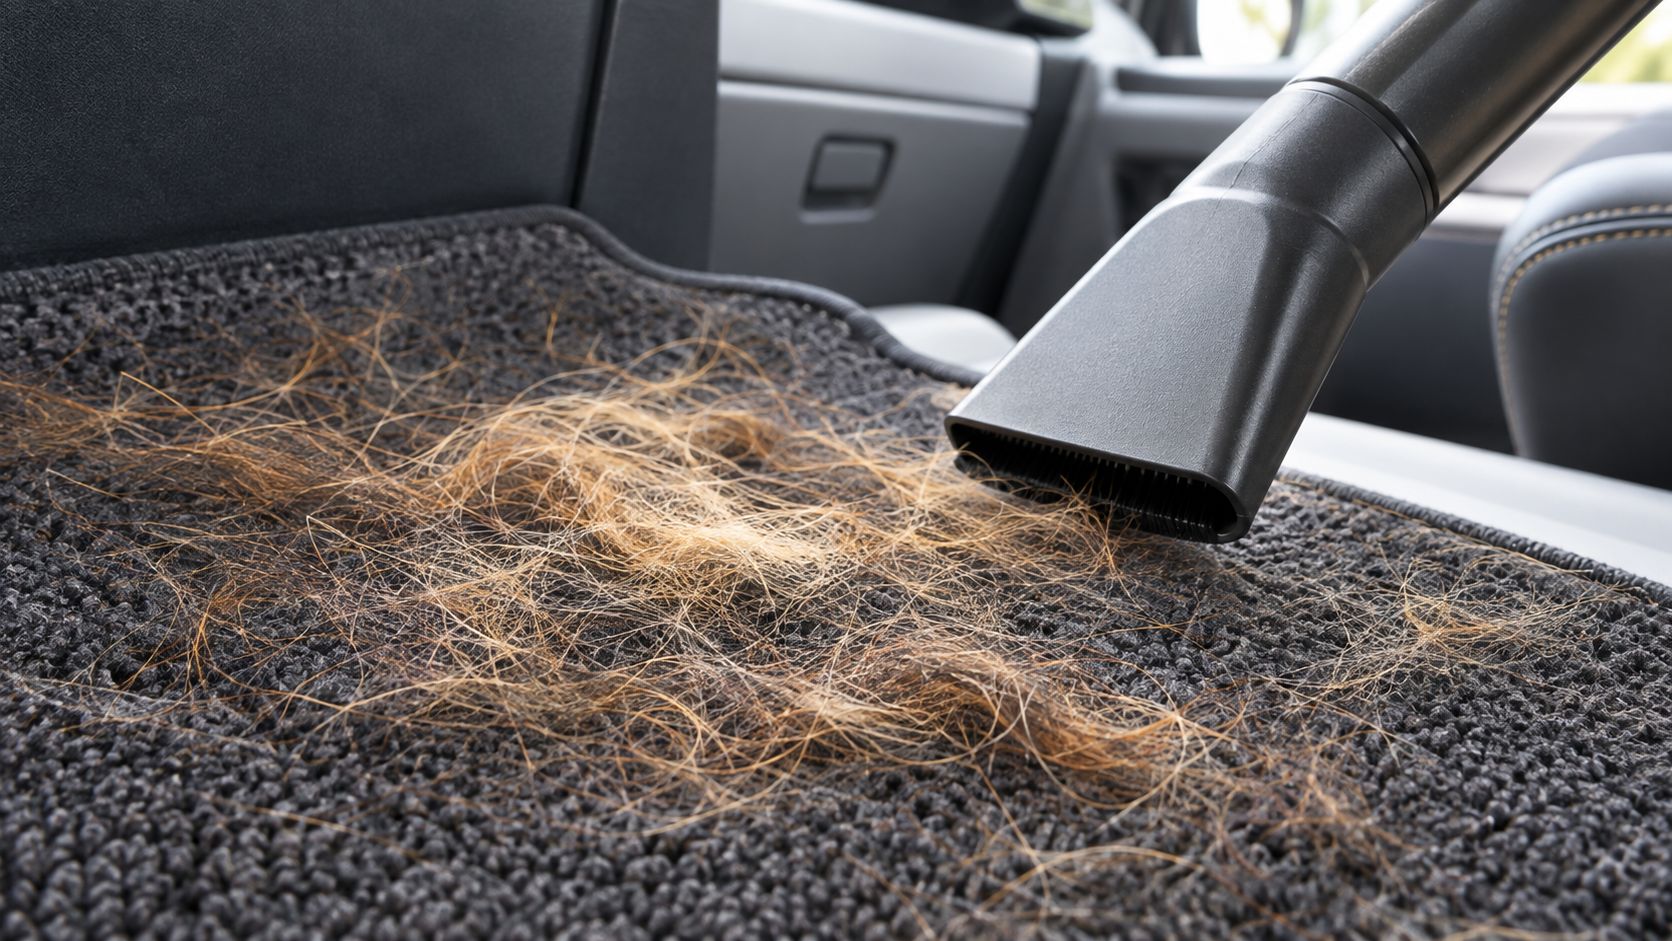
What you need
You can do a full interior detail with this short list. If you already have half of it at home, even better.
- Vacuum with a crevice tool and brush attachment (a small shop vac is ideal)
- Microfiber towels (at least 6 to 10 so you can rotate clean ones)
- Soft interior brush or an old, clean detailing brush and a small paintbrush for tight spots
- All-purpose cleaner that is interior-safe, or a gentle diluted APC (always follow the label)
- Glass cleaner that is safe for tinted windows (ammonia-free is the safest bet)
- Fabric cleaner for cloth seats and carpets (foam or spray)
- Leather cleaner and conditioner if you have leather or leatherette
- Spray bottle with water for rinsing and controlled damp wiping
- Optional but awesome: wet-dry vacuum, carpet extractor, steam cleaner, compressed air or an electric air duster
A quick safety note: skip shiny dressings on the steering wheel, pedals, and shift knob. Slick surfaces are a real driving hazard. Also avoid soaking electronics and switches. Interior detailing is mostly controlled moisture, not flooding.
Airbag note: be gentle around any panel marked SRS or AIRBAG, including the steering wheel, A pillars, seat sides, and headliner edges. Do not poke tools into seams or aggressively brush those areas.
Cleaner note: if your APC requires dilution, a mild interior mix is often in the neighborhood of 10:1 to 20:1. Follow your product label, spot-test first, and avoid bleach or ammonia on interior surfaces. For screens and gauge plastics, skip high-alcohol cleaners unless your owner’s manual specifically approves them.
Before you start
Pick the right conditions
Shade is your friend. Heat speeds evaporation, which can leave streaks or dried residue before you can wipe clean. If you can, park in a garage or under a tree and crack the doors.
Empty everything
Pull out floor mats, trash, receipts, kids’ toys, and everything hiding in door pockets. Check under seats. You are going to be amazed what lives down there.
Work top to bottom
Dust and crumbs fall. Start high and dry, then deep-clean. This keeps you from re-dirtying areas you already finished.
Step 1: Floor mats
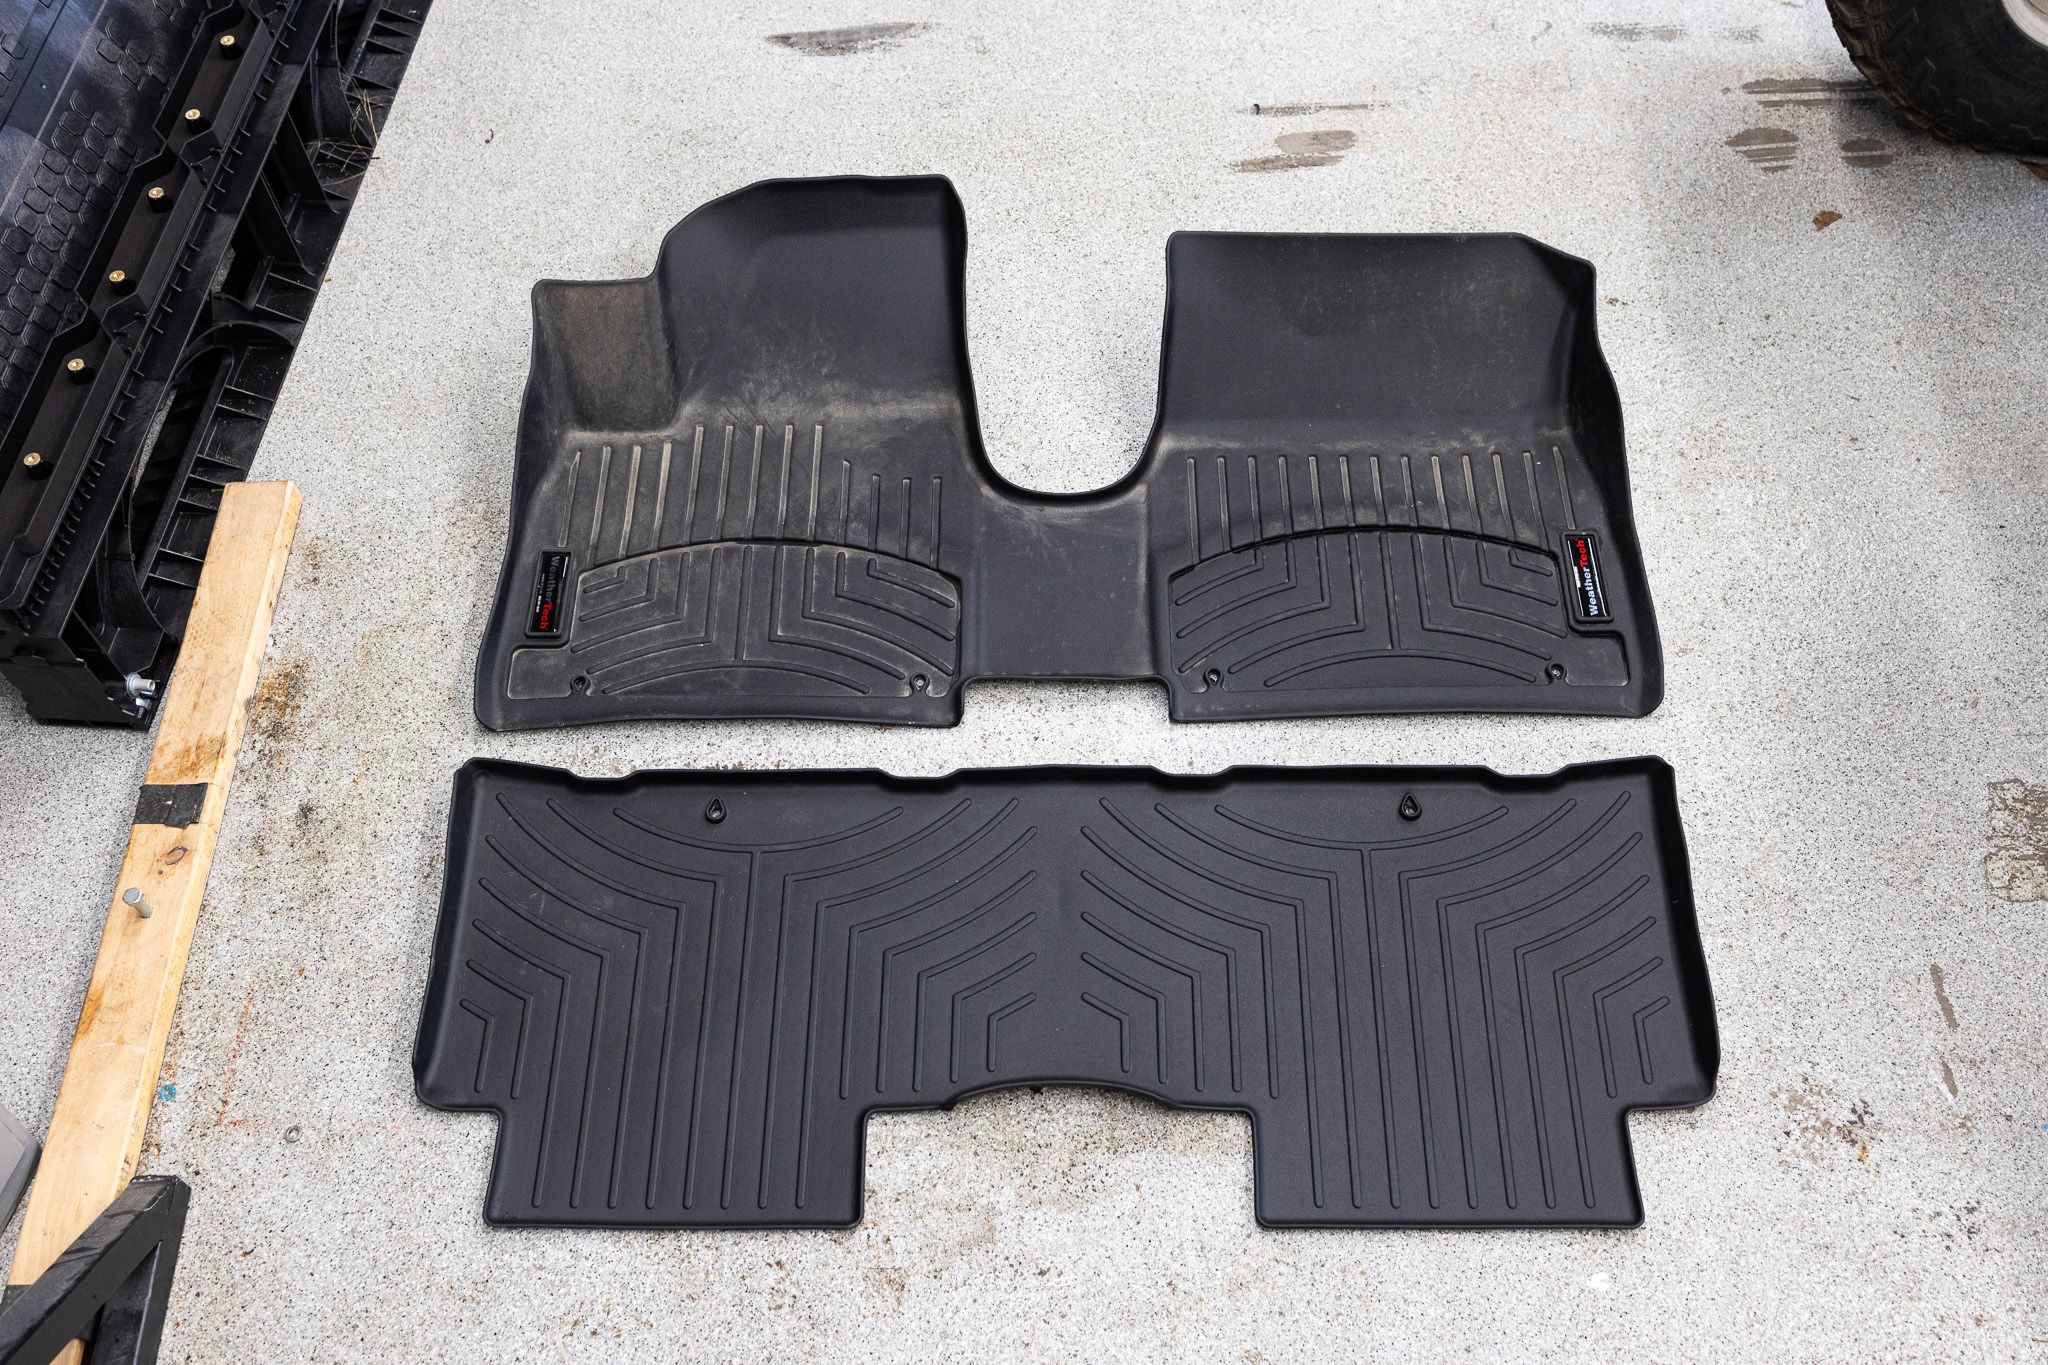
Rubber mats
- Shake them out.
- Rinse with water, then scrub with a mild cleaner and brush.
- Rinse again and let them dry fully before reinstalling.
Carpet mats
- Vacuum thoroughly, including the edges.
- Spot-treat stains with fabric cleaner. Agitate gently with a brush.
- Blot with a microfiber towel. Do not rub like you are sanding a deck.
- If you can, let them dry in the sun for an hour.
Step 2: Vacuum thoroughly
If you only have time for one step, vacuuming is the one that changes the cabin immediately. Take the extra 15 minutes. It pays off.
How to vacuum efficiently
- Slide seats all the way back and vacuum the front footwells and under-seat areas.
- Slide seats forward and hit the rear footwells.
- Use the crevice tool along seat rails, between the seat and center console, and around the parking brake area.
- Use a brush attachment on carpets to lift sand and pet hair.
- Do not forget the trunk or cargo area, including the spare tire well if it is accessible.
Pet hair trick: a slightly damp rubber glove or a rubber pet-hair brush will pull hair out of carpet fast, then you vacuum it up.
Step 3: Hard surfaces
This is where a car can go from “lived in” to “well cared for” in one pass. The goal is clean and matte, not glossy and greasy.
Best practice
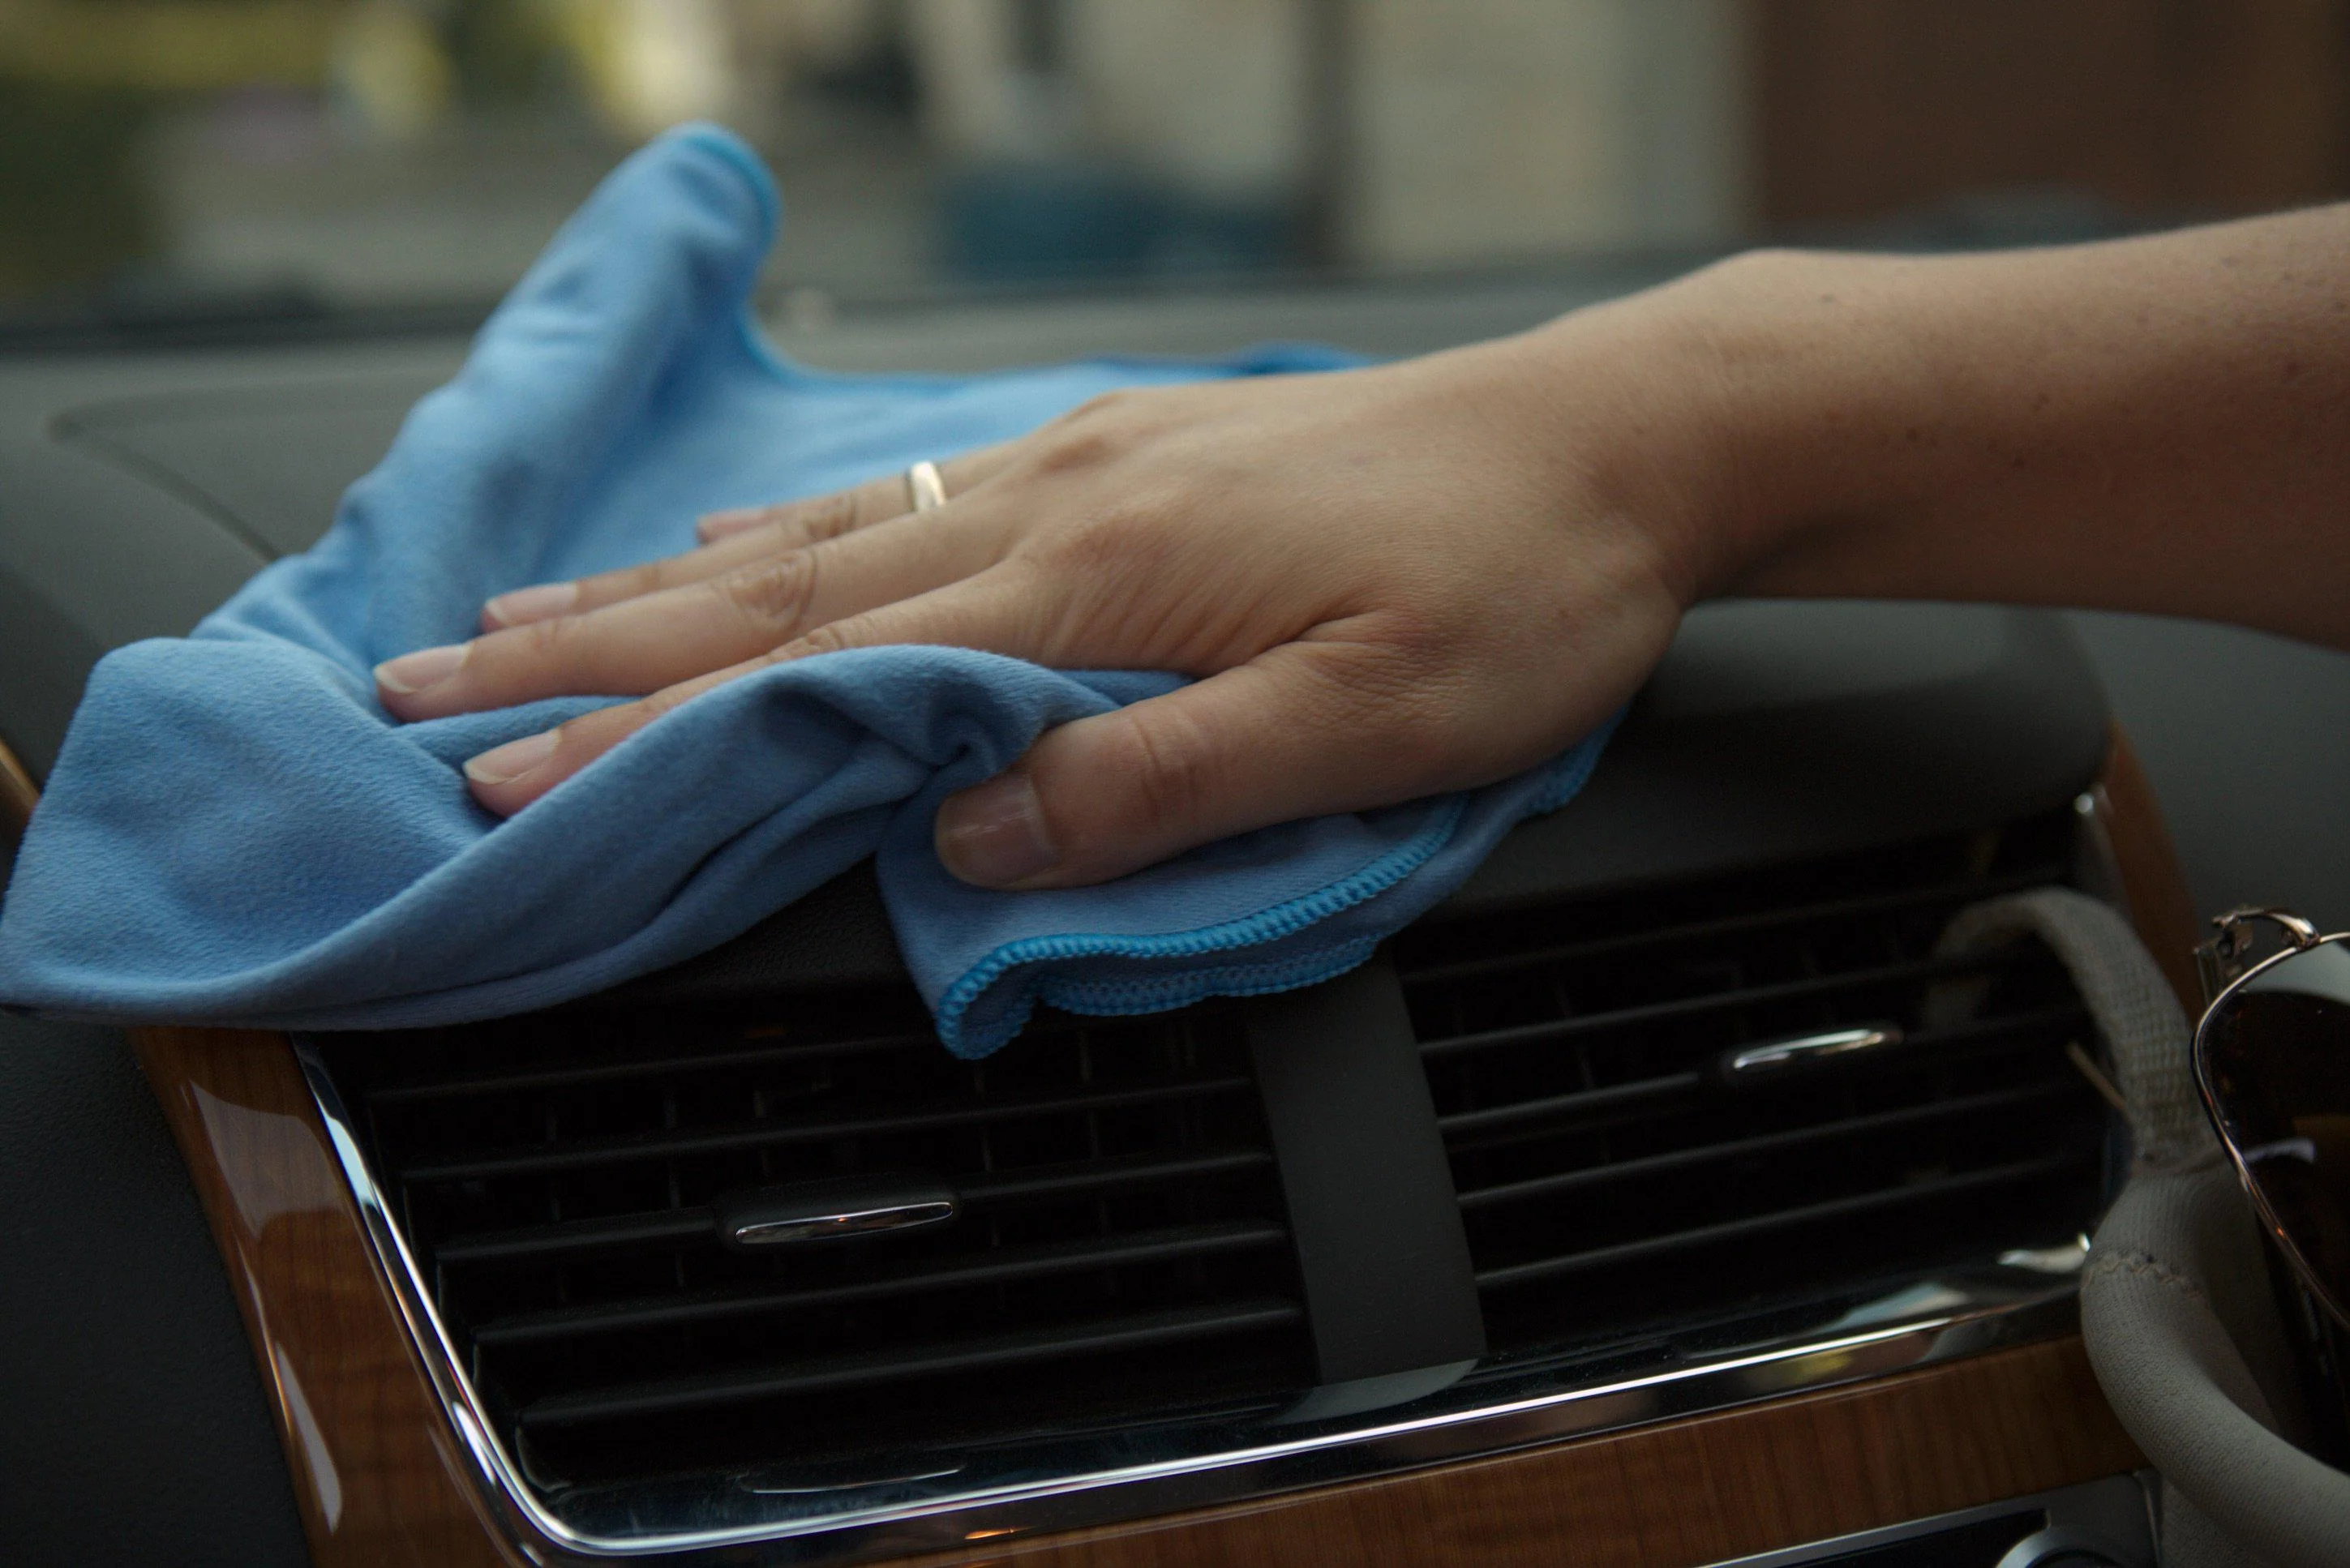
Mist your cleaner onto a microfiber towel first, then wipe. This keeps overspray out of vents, switches, and screens.
Order of operations
- Dashboard and instrument hood: wipe, then use a soft brush for seams.
- Center console: cupholders, shifter area, buttons, storage bin.
- Door panels: armrests, handles, window switch area.
- Kick panels and scuff plates: these take shoe abuse, so they often need a second pass.
Sticky cupholders: remove inserts if your car has them, soak in warm soapy water, rinse, dry, and reinstall.
Piano-black trim warning: it scratches easily. Use a clean microfiber and light pressure. Skip stiff brushes and gritty towels.
Step 4: Vents and cracks
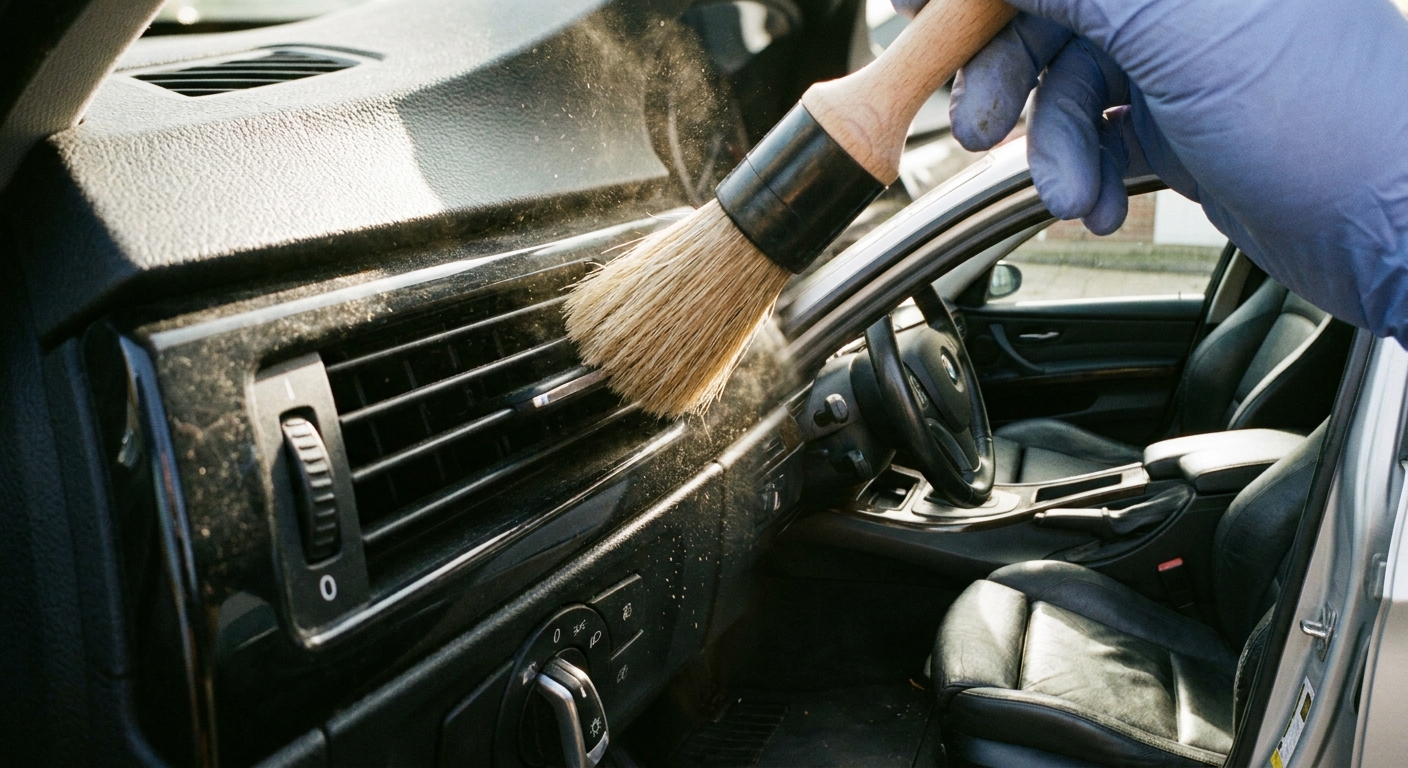
Vents hold onto dust and blow it right back at you the first time you crank the fan. Cleaning them also makes the whole interior smell fresher.
Easy vent routine
- Use a soft detailing brush to loosen dust in the vent slats.
- Vacuum while you brush to capture debris instead of redistributing it.
- If you have compressed air, use short bursts. Keep the nozzle back a bit so you do not drive dust deeper.
Pro tip: If your cabin air filter is overdue, replace it after you finish cleaning. A clogged, dusty filter is often the real culprit behind weak airflow and musty odor.
Step 5: Seats and carpet
This is where most DIY interior details go wrong: too much product and too much water. Over-wetting can leave odors, water rings, or in the worst cases, it can cause issues with under-seat wiring and electronics. Use controlled amounts and extract or blot thoroughly.
Cloth seats and carpets
- Vacuum first, including seams and stitching lines.
- Spot-test cleaner in a hidden area.
- Spray fabric cleaner lightly, then agitate with a soft brush.
- Blot with a clean microfiber towel to lift grime.
- If you have a wet-dry vac or extractor, use it to pull moisture out.
Stain note: Many stains need repetition, not aggression. Two gentle passes beat one harsh scrub that frays fabric.
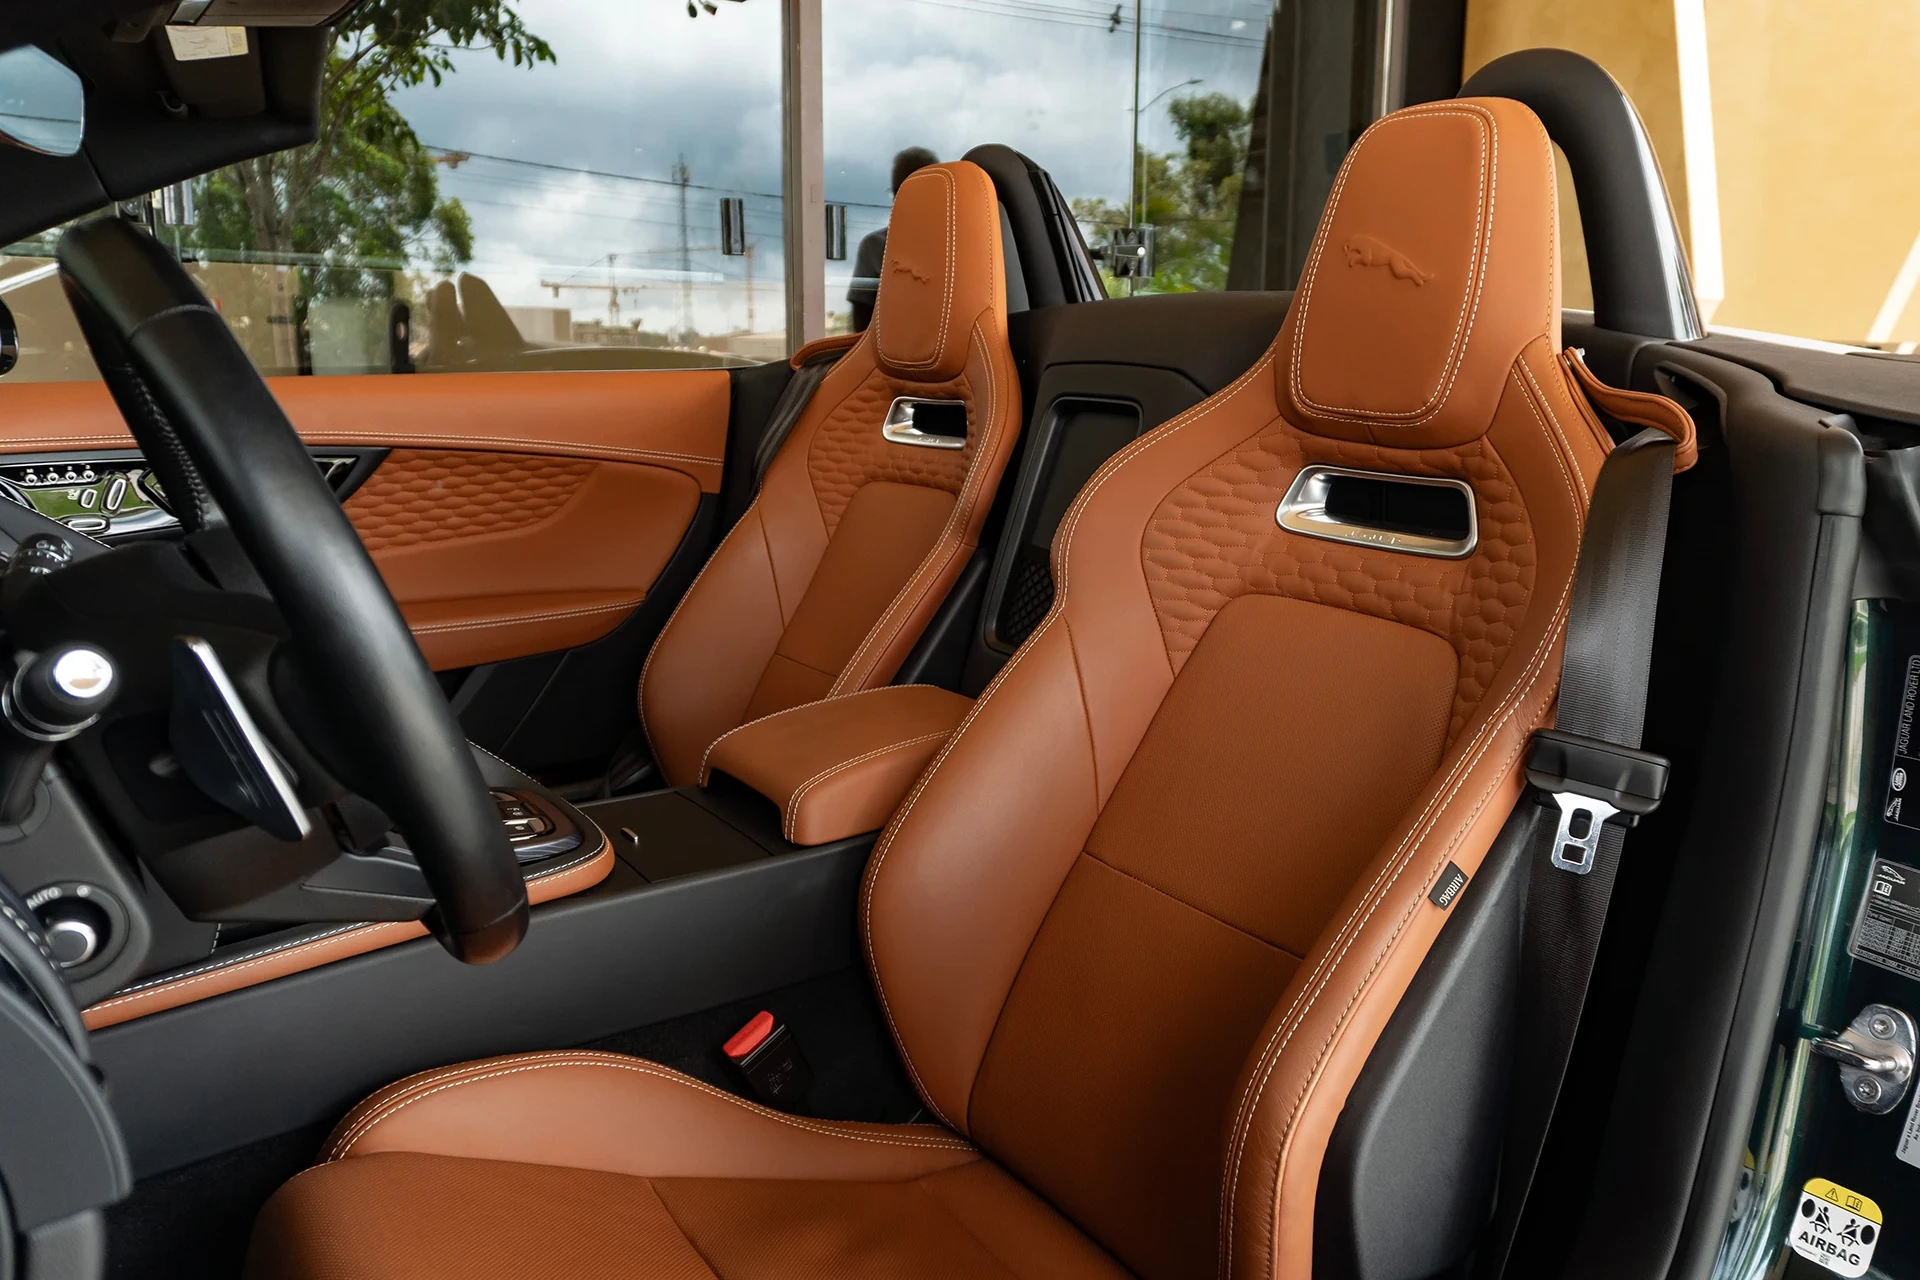
Leather or leatherette seats
- Use a dedicated leather cleaner on a microfiber towel.
- Clean seams gently with a soft brush.
- Wipe residue with a slightly damp towel, then dry.
- Condition lightly, then buff dry so the surface is not slick.
Avoid: harsh household cleaners and strong degreasers on leather. Modern automotive leather is typically coated, and aggressive chemicals can haze, discolor, or damage that coating, or leave residue that feels slippery.
Step 6: Headliner and belts
Headliner
Headliners are basically fabric over foam with adhesive holding it all together. Too much liquid can loosen that adhesive and cause sagging.
- For light dirt, use a dry microfiber towel or a soft brush.
- For spots, lightly mist cleaner onto a towel, not the headliner.
- Blot, do not scrub.
Seat belts
- Pull the belt all the way out and clip it with a clothespin or binder clip so it does not retract.
- Wipe with a damp microfiber and mild cleaner.
- Let it dry fully before letting it retract.
Step 7: Glass and screens
Windows and mirrors
- Use an ammonia-free glass cleaner if you have tint.
- Apply to a towel, then wipe the glass.
- Use a second dry towel to buff.
- Clean the inside of the windshield last, so you are not leaning over freshly cleaned surfaces.
Touchscreens and gauge plastics
Many clusters and infotainment screens scratch easily.
- Use a clean, dry microfiber first.
- If needed, use a slightly damp microfiber with water only.
- Avoid ammonia and high-alcohol products unless your manufacturer approves them for that surface.
Step 8: Odor control
Air fresheners cover smells. Cleaning removes them. If you want the cabin to stay fresh, you have to attack the source.
Start with the basics
- Remove all trash and any damp items.
- Vacuum under seats and between cushions.
- Wipe spilled coffee, soda, or milk thoroughly. Old sugar and dairy odors can linger for a long time if they soak into carpet padding.
Deodorize, do not perfume
- Baking soda can help on carpets: sprinkle lightly, let it sit at least 15 to 30 minutes, then vacuum thoroughly. If the odor is stubborn and the carpet is dry, leaving it for a few hours or overnight works better.
- Activated charcoal bags work well over time for mild odors.
- Cabin air filter replacement is the move if you smell mustiness when the fan turns on.
If it smells like mildew: you may have moisture trapped under carpet or a clogged sunroof drain. That is a different job than detailing, and it is worth fixing before the odor becomes permanent.
If the odor is intense: smoke and pet urine often need an enzyme cleaner (for organic smells) or professional help. Ozone treatments can be effective, but they should be handled carefully and typically are best left to a shop that follows proper safety procedures.
Drying and ventilation
After any wet cleaning, give the car time to dry. This is how you avoid that “cleaned it yesterday, why does it smell weird today” problem.
- Leave doors open or cracked while you work, weather and security permitting.
- Blot and extract until towels come up mostly clean and mostly dry.
- When you are done, run the HVAC on fresh air (not recirculate) for 10 to 15 minutes. If the weather is dry, a little heat helps drive moisture out of carpet and seat fabric.
Keep it clean
The cleanest cars I see are not owned by people who detail every weekend. They are owned by people who do tiny resets before the mess becomes a project.
- Once a week: remove trash, shake out mats, quick vacuum of driver footwell.
- Every other week: wipe steering wheel, shifter, and touchpoints with a damp microfiber.
- Monthly: vacuum seats and rear floor, wipe dash and door panels.
- Seasonally: deep-clean carpets and upholstery, clean vents, replace cabin air filter if needed.
Habits that help
- Keep a small trash bag or lidded bin in the car.
- No open drinks without lids, especially for passengers.
- Brush sand and salt off shoes in winter before you get in.
- Store a microfiber and a small interior-safe wipe in the glove box for emergencies.
Common mistakes
- Using too much product: more cleaner usually means more residue. Use less, wipe better.
- Soaking seats and carpet: damp is fine, wet is trouble. Blot and extract.
- Shiny dressings everywhere: they attract dust and can be slippery. Clean and matte looks better and is safer.
- Ignoring the cabin air filter: if your interior smells stale or airflow feels weak, the filter is often part of the story.
- Skipping vacuuming: wiping a dusty interior just turns dirt into paste.
- Scrubbing sensitive trim: gauge cluster plastic and piano-black pieces scratch fast. Use the softest towel you have and a light touch.
Quick FAQ
How long does a full interior detail take?
Plan for 2 to 4 hours the first time, depending on how dirty the car is and whether you are shampooing fabric. Once you are maintaining it, a good reset can be 20 to 30 minutes.
Can I use household cleaners?
I do not recommend it. Many household products are too strong for interior plastics, leather coatings, and screen surfaces. Use an interior-safe APC and a dedicated leather cleaner if applicable.
What is the fastest upgrade?
Pull everything out, vacuum thoroughly, wipe the dash and console with a microfiber, and clean the inside of the windshield. That combo delivers the biggest visual payoff quickly.
Do I need a steam cleaner?
No, but it can help on grimy crevices and fabric. If you use one, keep it moving and avoid blasting moisture into seams, switches, and areas with wiring underneath.