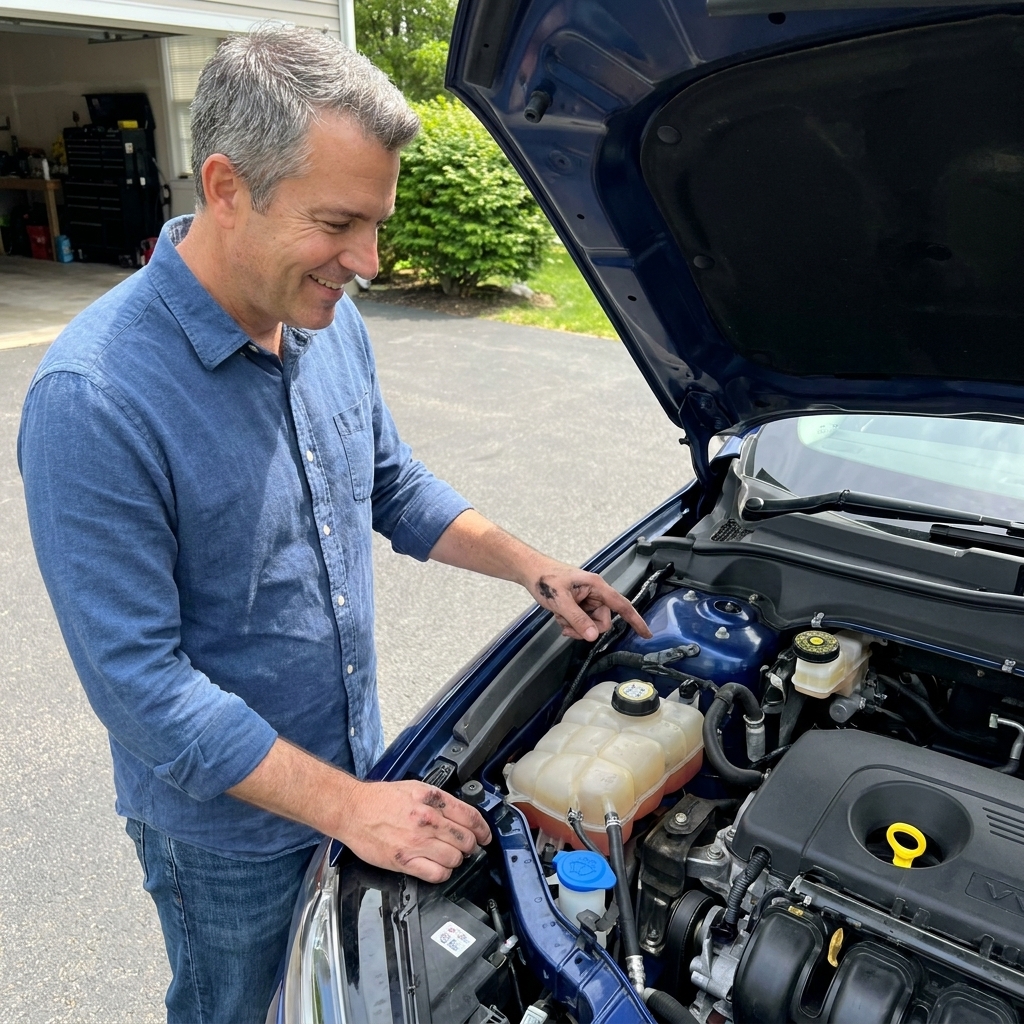
A complete, mechanic-approved winterizing checklist: battery health, tire traction, correct fluids, wipers, lights, brakes, rust prevention, and a simple eme...
Modern cars are basically rolling computer networks. That is great for safety and efficiency, but it also means a sloppy jump-start can do more than get you moving. It can create a voltage event and take out expensive modules. The good news is that jump-starting safely is simple if you follow the right order, use the right connection points, and defer to your owner’s manual when your vehicle provides dedicated jump posts.
Before you touch the cables
1) Confirm it is actually a dead battery
- Dead battery signs: rapid clicking, dash lights that flicker or go dim, interior lights extremely weak, starter barely turns or does nothing.
- Not a dead battery: no crank with normal bright lights can be a bad starter, ignition switch, or a security issue. Jumping it will not help much.
2) Check for safety red flags
Do not jump-start if you see any of these:
- Battery case is cracked, swollen, or leaking.
- Strong rotten egg smell (sulfur) near the battery.
- Smoke, sparks, or melted wiring.
- The battery is frozen solid in extreme cold.
If any apply, stop and call for help. A failing battery can vent hydrogen gas, and one spark in the wrong place can turn a simple jump into a dangerous situation.
3) Use the right tools
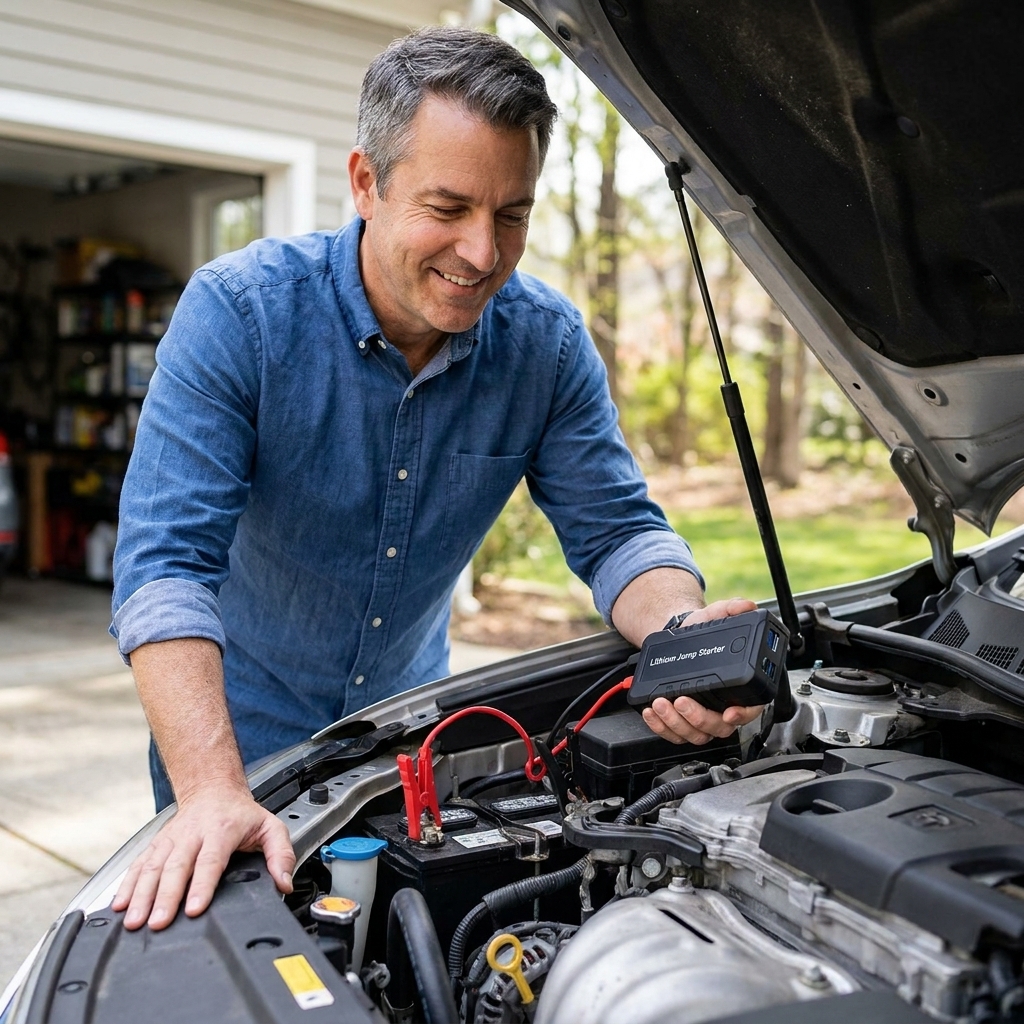
- Best: a quality lithium jump pack with spark protection and reverse-polarity protection.
- Also fine: heavy-gauge jumper cables (thicker is better, especially for larger engines).
- Wear eye protection if you have it, and remove dangling jewelry.
Protecting modern electronics: the big rules
- Use designated jump points if your vehicle has them. Many newer cars have a remote positive terminal under the hood and a marked ground stud. The owner’s manual wins if it specifies connection points.
- Make the final connection away from the battery when possible. Prefer a solid engine or chassis ground on the dead car to reduce spark risk near battery gases. If your manual calls for a specific negative jump point or battery negative connection, follow that.
- Keep the donor car at normal idle. Revving does not help much and can increase current flow and heat. If you have a weak connection, higher RPM can worsen arcing and cable heating.
- Do not disconnect cables under load. Remove them carefully with both vehicles at idle, accessories off, and clamps under control. If you are using a jump pack, keep the car off while connecting and disconnecting per the jump pack instructions.
- Polarity matters. Reversing positive and negative can instantly blow fuses or damage modules.
Jump-start with jumper cables
This is the sequence I used in shops because it is consistent, minimizes sparks near the battery, and is the least likely to create an avoidable mistake.
Step 1: Position the vehicles
- Park the donor vehicle close enough for the cables to reach, but do not let the vehicles touch.
- Both transmissions in Park (or Neutral for manuals), parking brakes set.
- Turn off both cars. Turn off headlights, HVAC blowers, and accessories.
Step 2: Identify terminals and jump points
- Positive terminal: usually marked with a + and often a red cover.
- Negative terminal: marked with a -, often connected to the body or engine ground.
- If your owner’s manual shows remote jump posts, use those instead of clamping directly to the battery.
Step 3: If there is corrosion, fix the contact first
- If terminals or jump posts are crusty or green, you can end up with hot cables and a no-start even with a good donor vehicle.
- If it is safe to do so, gently clean the contact area so the clamps bite on solid metal. Do not create sparks near a leaking or damaged battery.
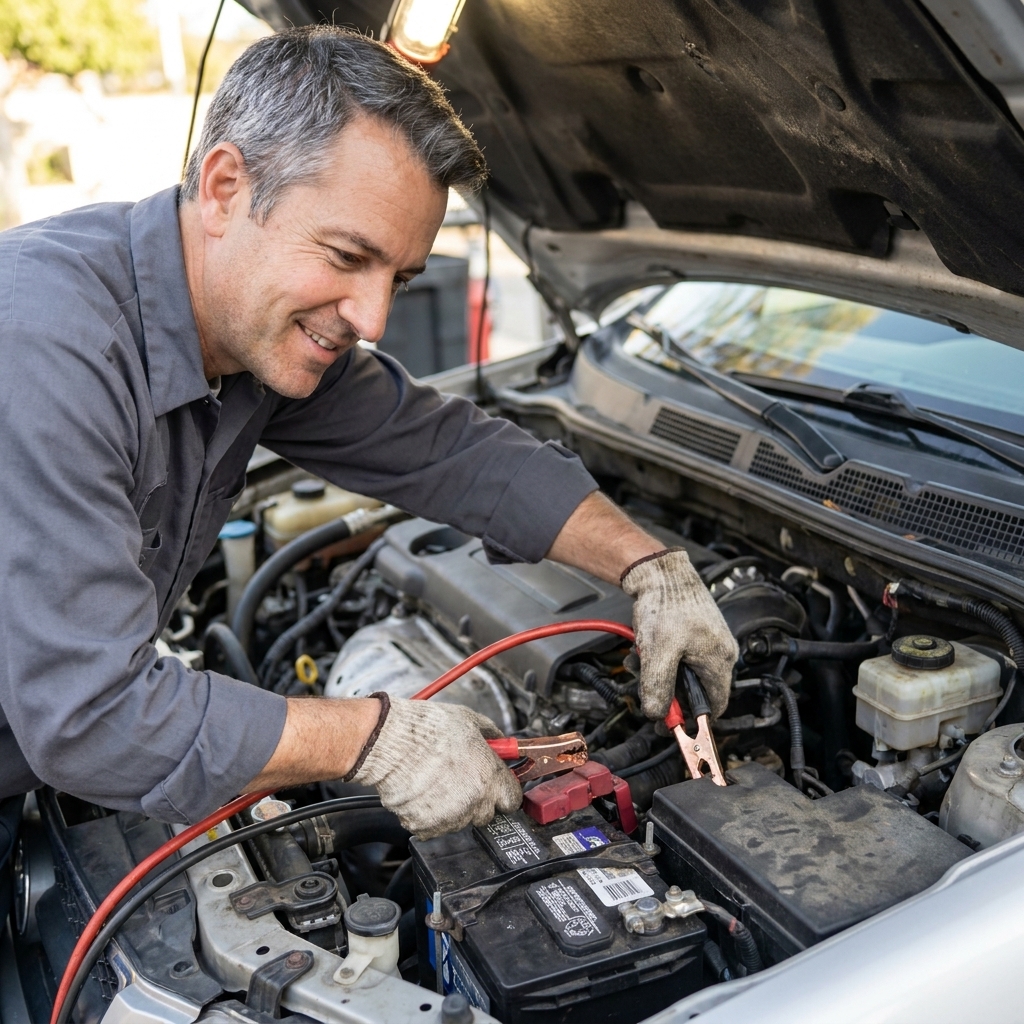
Step 4: Connect the red cable first (positive to positive)
- Connect one red clamp to the dead car’s positive (+) terminal or positive jump post.
- Connect the other red clamp to the donor car’s positive (+) terminal.
Step 5: Connect the black cable (negative to donor, then ground the dead car)
- Connect one black clamp to the donor car’s negative (-) terminal.
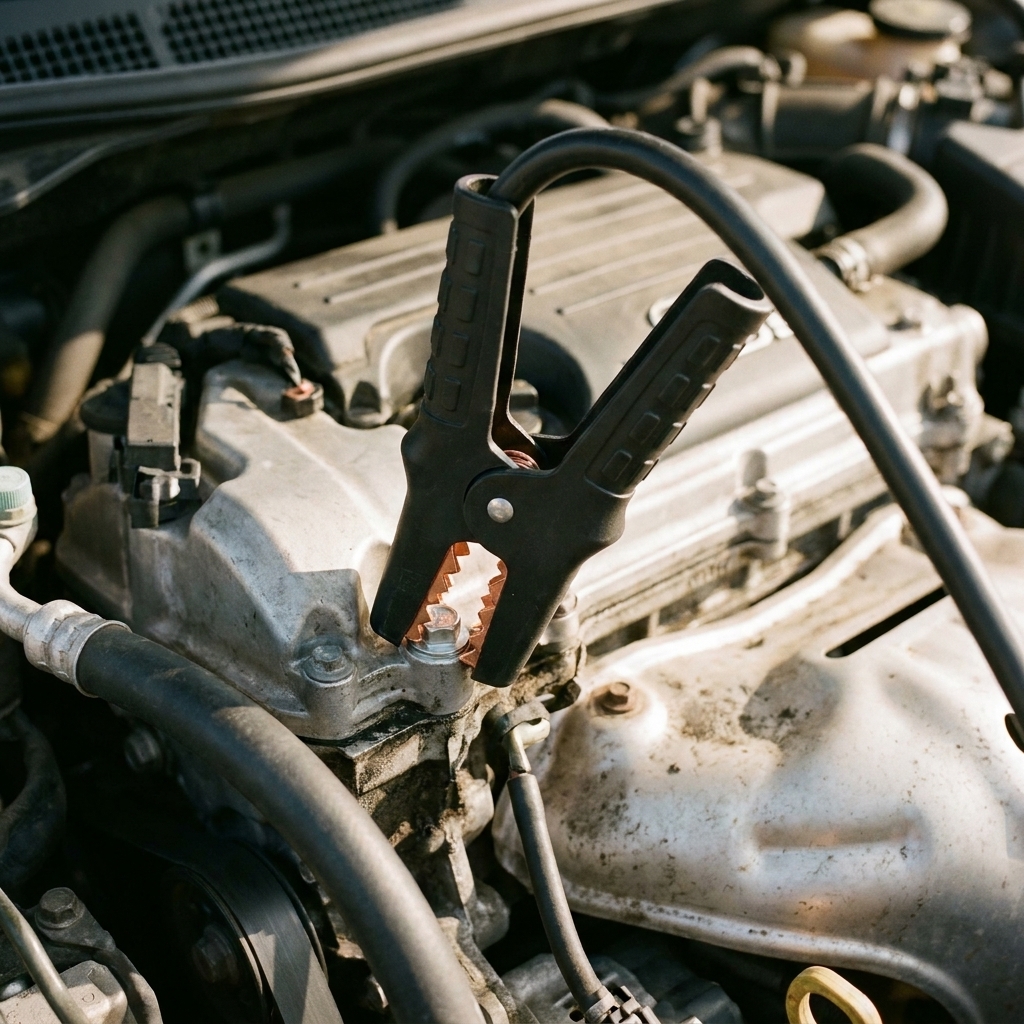
- Connect the final black clamp to a clean, unpainted metal ground on the dead car, ideally on the engine block or a factory ground stud, unless your manual specifies a different point.
Good ground points: an engine lifting bracket, a thick metal bolt on the engine, or a designated ground lug. Avoid: fuel lines, thin brackets, plastic covers, and anything that moves (belts, fans).
Step 6: Start the donor car and let it stabilize
- After all clamps are connected securely, start the donor vehicle and let it idle for 1 to 2 minutes.
- Keep RPM near idle.
Step 7: Start the dead car
- Try starting. If it cranks slowly, wait another minute and try again.
- If it does not crank after a few attempts, stop. You may have a bad battery, corroded connections, or a different issue.
Step 8: Disconnect in reverse order
This matters just as much as hooking up. In most cases, keep the revived car running while you disconnect so it does not stall. If your manual says otherwise, follow the manual.
- Remove the black clamp from the dead car ground.
- Remove the black clamp from the donor negative (-).
- Remove the red clamp from the donor positive (+).
- Remove the red clamp from the dead car positive (+).
Keep clamps from touching each other or any metal while they are attached to a battery.
Jump-start with a jump pack
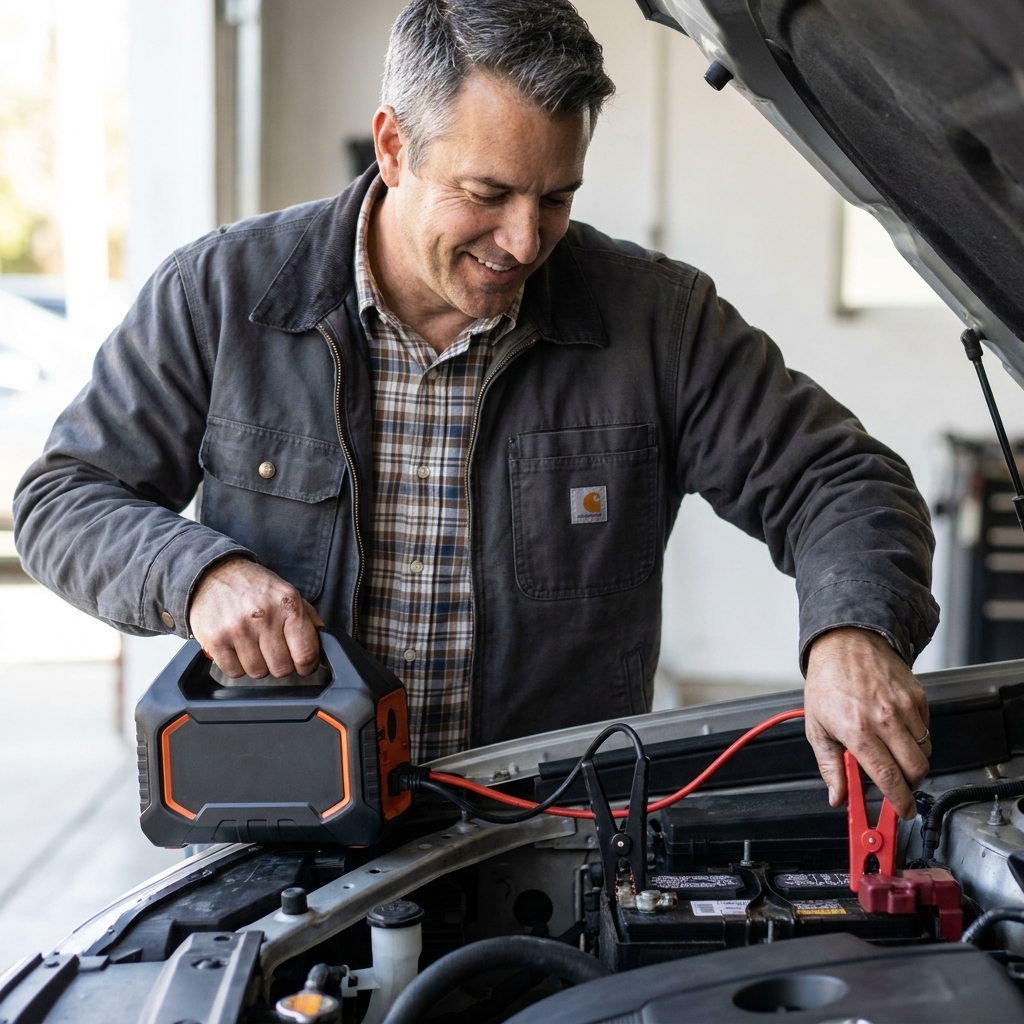
A quality jump pack with built-in protection can be very consistent for modern electronics because you are not relying on another vehicle’s charging system or a second set of variables.
- Turn the car off and shut off accessories.
- Connect the jump pack red clamp to positive (+) (or the vehicle’s positive jump post).
- Connect the jump pack black clamp to a solid engine or chassis ground, or to the specified negative jump point if your manual calls for it.
- Power on the jump pack (or arm it per its instructions).
- Start the car. If it does not start within a few seconds, stop and wait 30 to 60 seconds before another attempt.
- Turn off the jump pack, then remove clamps (ground first, then positive).
Mistakes that damage electronics
- Reversing polarity: even briefly. If you do this, do not keep trying. You may have blown main fuses.
- Letting clamps touch: touching red and black together can arc instantly.
- Making the last connection at the battery when you do not need to: increases spark risk right where battery gases can vent. Prefer a chassis or engine ground unless your manual specifies otherwise.
- Revving the donor vehicle: usually unnecessary, and it can increase current and heat, especially with marginal connections.
- Using the donor alternator as a charger: jump-starting is one thing, but letting a deeply dead battery “charge” for a long time off the donor vehicle is hard on cables and connections. Use a smart charger when you can.
- Jumping the wrong system voltage: 12-volt to 12-volt only. Do not jump a 6-volt classic setup without the correct procedure.
Special cases
Battery in the trunk or under a seat
Many BMWs, Mercedes, and newer sedans put the battery in the rear. They often provide under-hood jump terminals. Use those. Some manufacturers specifically warn against clamping directly to the trunk battery, so check the owner’s manual before you improvise.
Start-stop systems and AGM batteries
If your car has auto start-stop, there is a good chance it uses an AGM (absorbed glass mat) battery. Jumping is the same process, but replacement batteries often require registration or programming on some makes. If the battery keeps dying, do not just keep jumping it. Address the root cause.
Hybrids and EVs
Most hybrids and EVs still have a 12-volt battery that can die and prevent the car from booting up. You jump the 12-volt system, not the high-voltage battery.
- Use the manufacturer’s designated jump points.
- If anything about the procedure is unclear, check the owner’s manual. Hybrids and EVs are not the place to wing it.
After it starts
Let it recover
Idling for a couple minutes is not a full recharge. The alternator is designed to maintain charge, not quickly restore a deeply discharged battery.
- Best: drive 20 to 30 minutes with minimal electrical load.
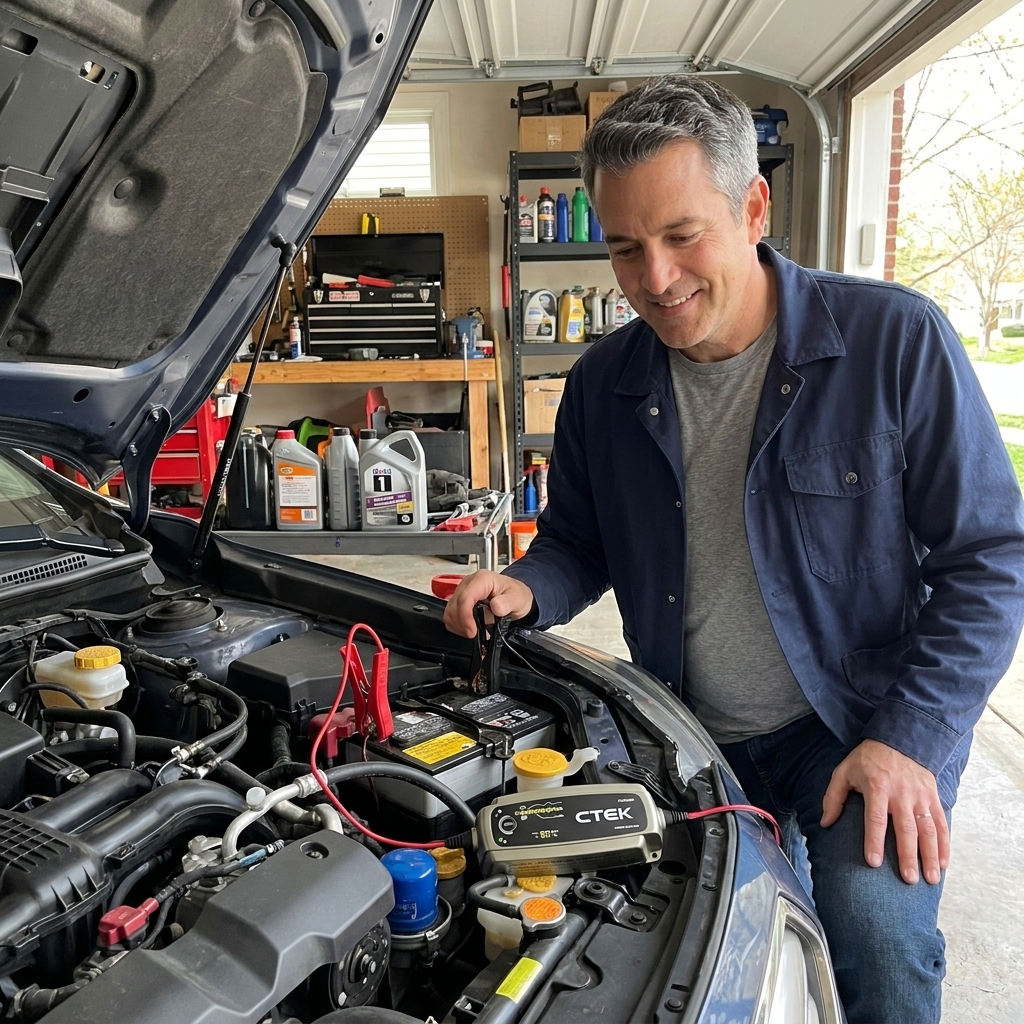
- Even better: put the battery on a quality smart charger at home, especially if it died from being left unused.
If it dies as soon as you remove the cables
- The battery may be too weak to support the vehicle on its own, the connections may not have been solid, or there may be a charging system problem.
- Reconnect and try again with cleaner contact points. If it still will not stay running, stop and have the battery and charging system tested.
Watch for warning signs
- If the car dies again soon, the battery may be worn out or the charging system may have a problem.
- If you see a battery or charging warning light while driving, get the charging system checked.
Quick FAQ
Should the donor car be running while I jump?
It can be. Start the donor after the cables are fully connected and let it idle. Keep it at normal idle and avoid revving. If you want to reduce variables, a quality jump pack is a good option.
Why connect the last clamp to ground instead of the dead battery negative?
Because the final connection is where a spark is most likely. Grounding away from the battery reduces the chance of igniting hydrogen gas venting from the battery. That said, if your vehicle has a designated negative jump point or the manual specifies a different method, follow that.
My cables got hot. Is that normal?
A little warmth can happen, but hot cables usually mean thin cables, poor clamp contact, or a severely discharged battery pulling heavy current. Stop and let things cool. Reposition clamps on clean metal.
Can jump-starting damage my ECU or infotainment?
It can if you reverse polarity, create heavy arcing at a bad connection, or disconnect under load. Following the connection order, using a quality protected jump pack or good cables, and keeping the donor at idle reduces the risk.
When should I replace the battery instead of jumping it?
If the battery is around 4 to 6 years old (often less in hot climates), fails a load test, will not hold a charge, or repeatedly needs jumps, replacement is usually the right fix.
Mechanic’s takeaway
If you remember nothing else, remember this: positive to positive first, and make the final connection to a solid ground on the dead car when your vehicle allows it. Use the jump points your manufacturer provided, keep the donor at idle, and take your time. That is how you bring a dead battery back without putting your car’s electronics at risk.